The Complete Guide to Product Photo Retouching for eCommerce
Product photo retouching is the single biggest lever most eCommerce brands never pull. While they invest in photography, advertising, and website design, the images themselves often let them down — dust on fabric, dull colours, floating products on white backgrounds, and inconsistent styling across the catalogue.
At Pixel By Hand, we have spent over a decade retouching product images for 380+ brands worldwide. This guide distils everything we know into one resource: what product photo retouching actually involves, the techniques that matter most, how to handle flat lay and on-body shots, and when it makes sense to outsource rather than do it yourself.
Table of Contents
- What Is Product Photo Retouching?
- Why Product Photo Retouching Drives Sales
- Core Retouching Techniques
- Retouching Techniques Comparison Table
- Flat Lay Photography Retouching
- On-Body and Mannequin Retouching
- Elements of a Great Product Photo
- How Much Retouching Do You Actually Need?
- DIY vs Professional Retouching
- Why eCommerce Brands Choose Pixel By Hand
- FAQ
What Is Product Photo Retouching?
Product photo retouching is the process of editing and enhancing product images to improve their quality, consistency, and visual appeal. It goes beyond basic photography — retouching corrects the imperfections that cameras inevitably capture and presents your products in the best possible light.
There are two broad levels:
- Basic retouching — Fixing minor flaws such as dust, lint, scratches, colour casts, and uneven lighting. Every product image needs this at minimum.
- Advanced retouching — More involved work such as ghost mannequin compositing, background replacement, colour grading, shape correction, and skin retouching for model shots.
The software most commonly used includes Adobe Photoshop and Lightroom, though professional retouching services like ours use a combination of tools and proprietary workflows refined over thousands of projects.
Why Product Photo Retouching Drives Sales
If you sell online, your product images are doing the job of a shop window, a sales assistant, and a fitting room — all at once. Research consistently backs this up:
- 75% of online shoppers rely on product images when making a purchase decision.
- 90% of customers consider image quality the most important factor in an online transaction.
- 66% of customers want to see at least three images of a product before buying.
- Visual content is 40% more likely to be shared on social media — free marketing for your brand.
Poor product photos don't just look unprofessional — they actively cost you money. Dust, fluff, and hairs visible on clothing immediately discourage buyers. Dull colours make products look cheap. Inconsistent styling across your catalogue erodes trust.
Conversely, polished product images:
- Build trust — Customers believe a brand that invests in quality imagery sells quality products.
- Increase perceived value — Professional retouching makes products look worth more, influencing what customers are willing to pay.
- Reduce returns — Accurate colour correction means customers receive what they expected.
- Boost SEO — High-quality images improve engagement metrics, which search engines reward with higher rankings.
Ready to see the difference? Send us your images for a free sample edit — no commitment, no credit card.
Core Retouching Techniques
Every product image benefits from some combination of these techniques. The skill lies in knowing which to apply and how far to go.
Colour Correction and Grading
Accurate colour reproduction is non-negotiable for eCommerce. Colours often appear differently on screen than in real life, and poor lighting during the shoot compounds the problem.
Colour correction ensures that the red dress on your website is the same red your customer receives. Colour grading goes a step further — adding warmth, contrast, or a specific mood to align with your brand aesthetic.
Background Removal and Replacement
Most marketplaces (Amazon, eBay, ASOS) require a clean white background. Even if your photographer shoots on white, the raw image will have shadows, gradients, and colour casts that need correcting.
Background removal also enables you to place products on lifestyle backgrounds, seasonal themes, or branded templates without reshooting.
Shadow Creation
One of the most overlooked retouching techniques. When you remove a background, you also remove the natural shadow — leaving your product "floating" unnaturally on the page. The human eye expects shadows; without them, something feels wrong.
Professional retouchers add natural drop shadows or reflection shadows to ground the product. This small detail makes a significant difference to how polished the final image looks.
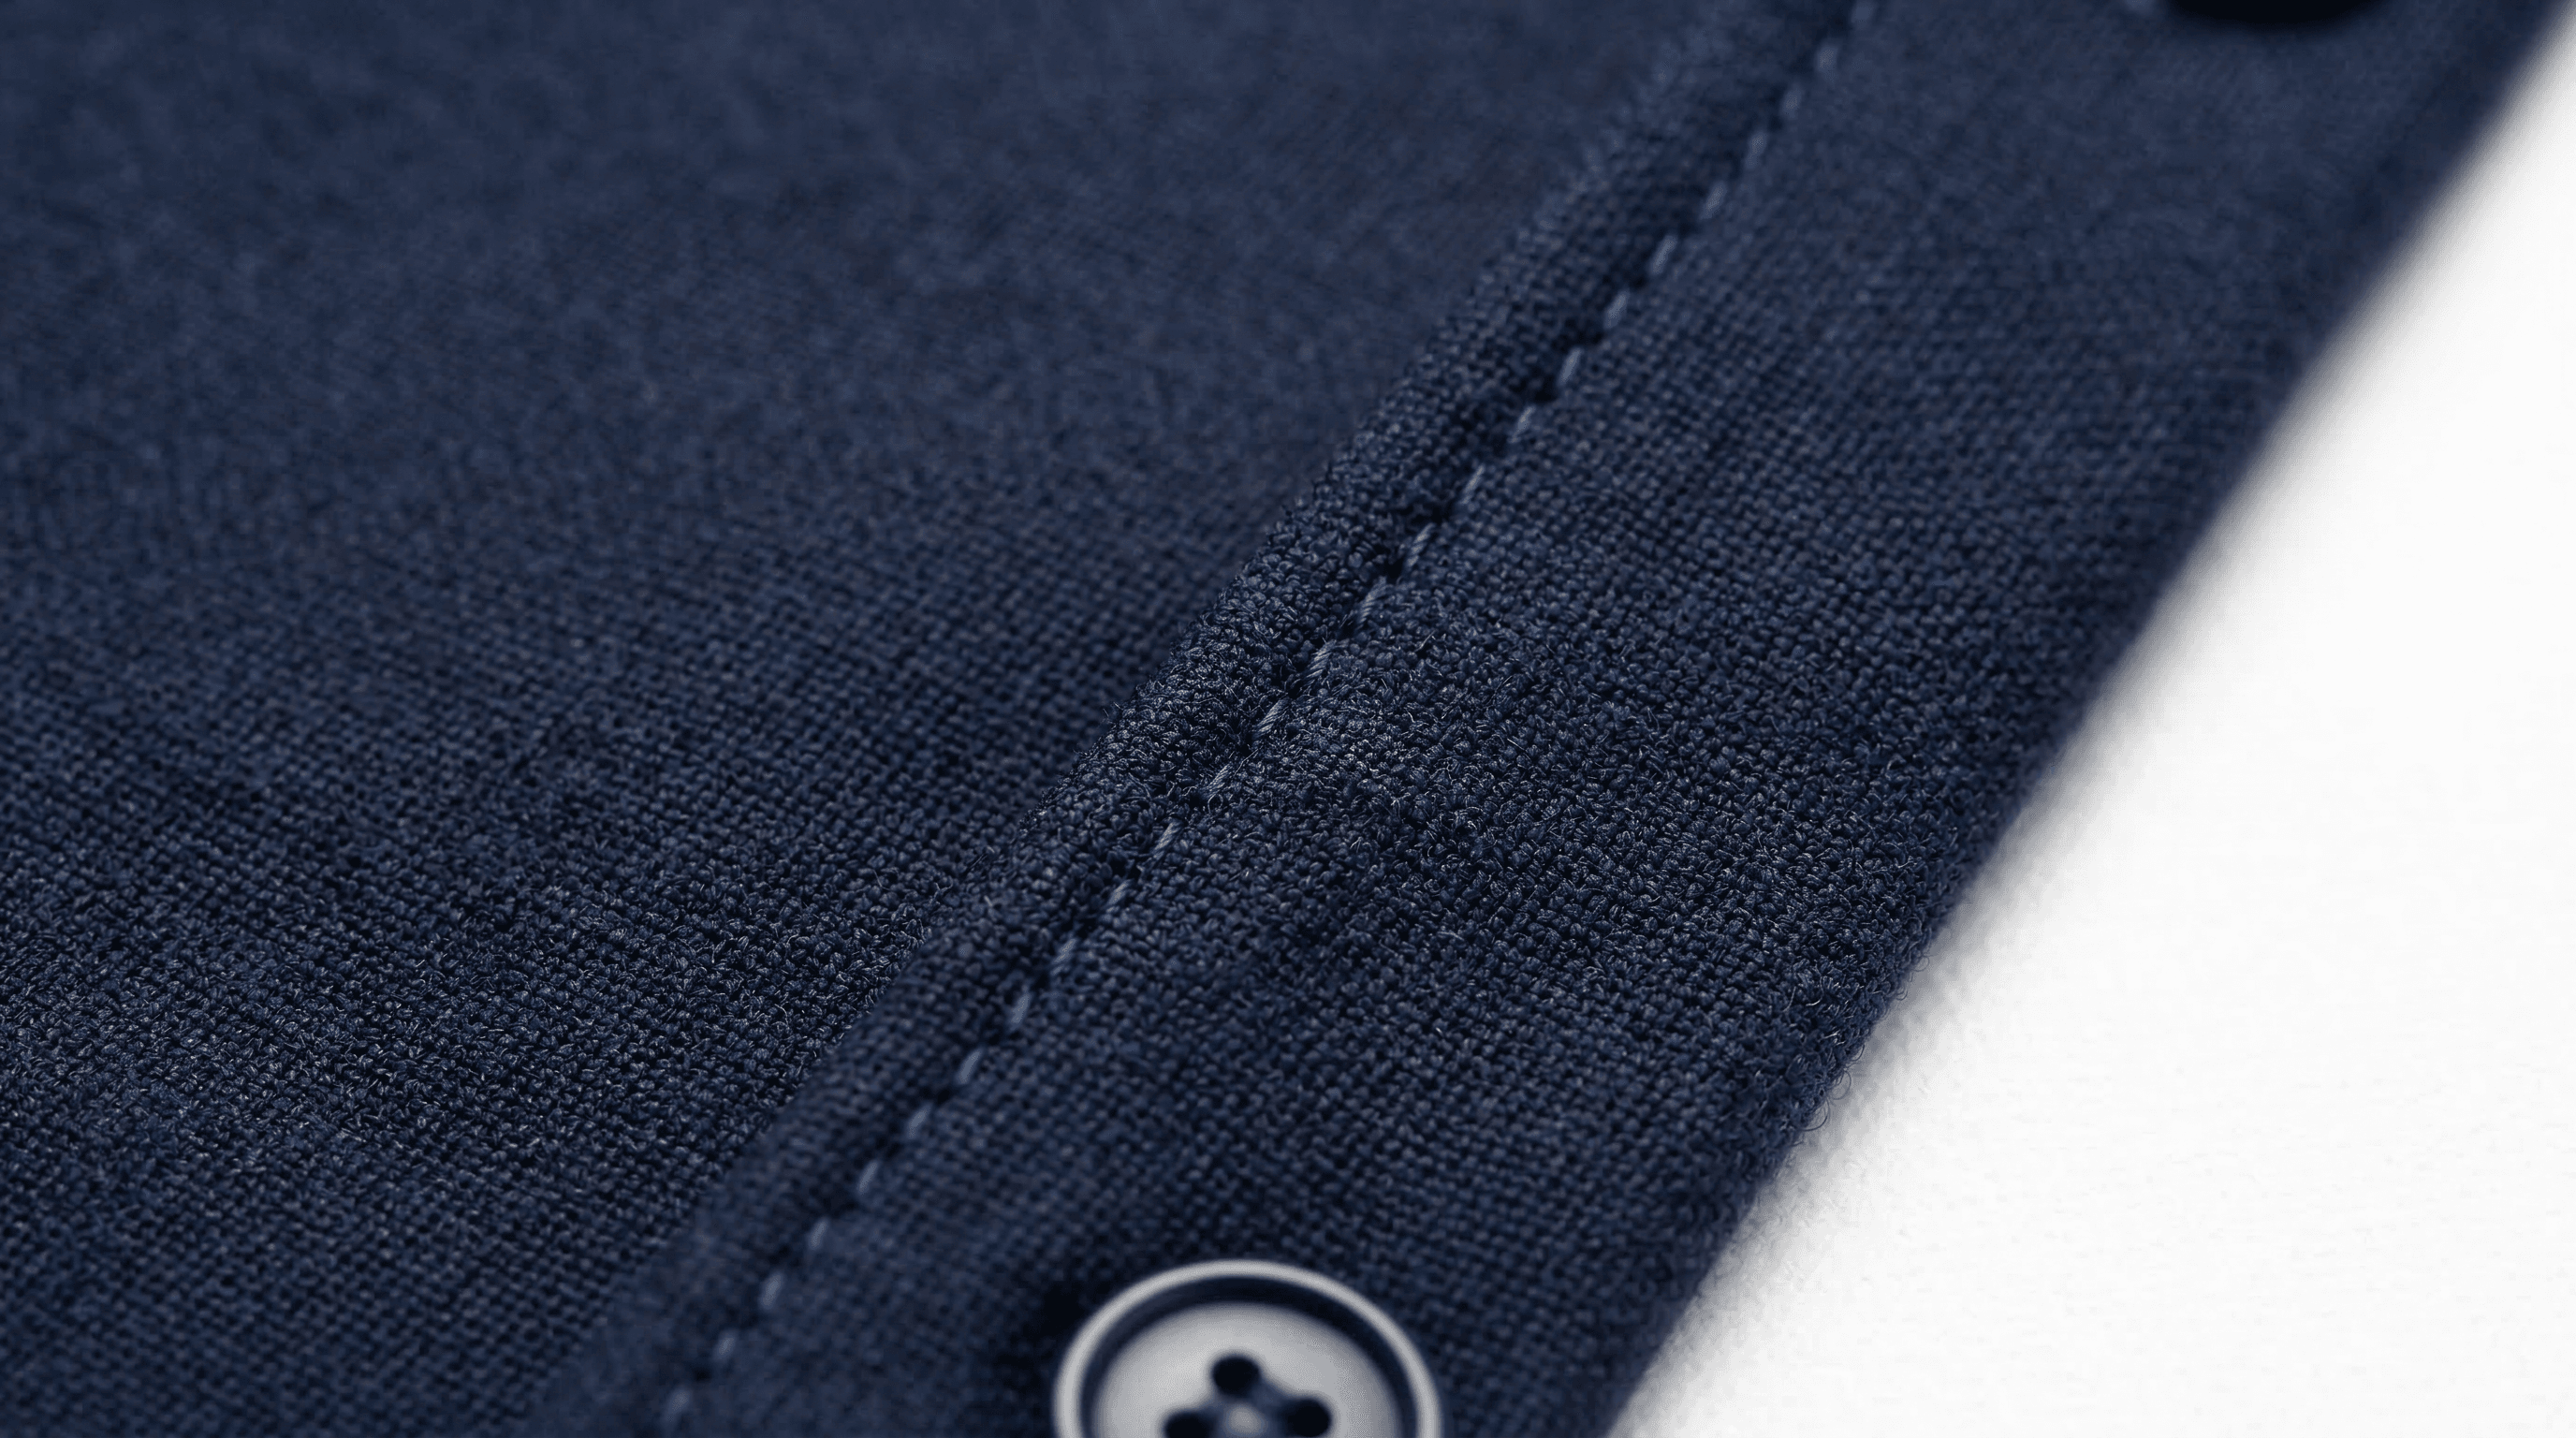
Dust, Lint, and Imperfection Removal
Every product picks up dust, lint, hairs, and minor marks during a photoshoot. On fabric, these are particularly visible and immediately make a product look dirty or low-quality.
Using clone stamp and healing brush tools, retouchers meticulously remove every speck — the kind of detail work that separates amateur product photos from professional ones.
Wrinkle and Crease Removal
Clothing fresh from packaging or hanging on a mannequin will always have wrinkles. Retouching smooths these out to present garments as clean, crisp, and well-tailored — conveying quality before the customer has touched the fabric.
Image Sharpening
Camera-to-web images often lose crispness. Controlled sharpening (using tools like Unsharp Mask) brings out fabric textures, stitching details, and product features — especially important for close-up shots where customers are inspecting quality.
Ghost Mannequin / Invisible Mannequin
A staple technique for fashion eCommerce. The mannequin is photographed inside the garment, then digitally removed in post-production to create a "hollow" 3D effect. This shows the garment's shape and fit without the distraction of a mannequin or the cost of a model for every shot.
Cropping, Alignment, and Consistency
Consistent product images across your catalogue improve the customer experience and reinforce your brand. This means:
- Same crop ratio and dimensions for every image
- Products centred and occupying a consistent proportion of the frame
- Uniform margins and padding
- Consistent background colour and tone
Shape and Symmetry Correction
Using the Liquify tool, retouchers refine the symmetry of garments — ensuring sleeves match, hemlines are straight, and collars sit evenly. For flat lays, this means checking that corresponding points (shoulders, cuffs, hems) are equidistant from the centre.
Retouching Techniques Comparison Table
| Technique | Best For | Complexity | Impact on Sales | DIY Feasible? |
|---|---|---|---|---|
| Colour correction | All products | Medium | High — reduces returns | Somewhat (Lightroom presets help) |
| Background removal | Marketplace listings | Medium | High — meets platform requirements | Basic yes, clean edges harder |
| Shadow creation | All cutout images | Medium | Medium — adds professionalism | Difficult to get natural-looking |
| Dust/lint removal | Clothing, fabric, jewellery | Low-Medium | High — removes purchase objections | Yes, but time-consuming |
| Wrinkle removal | Clothing, textiles | Medium | High — conveys quality | Somewhat |
| Image sharpening | All products | Low | Medium — improves detail visibility | Yes |
| Ghost mannequin | Fashion/apparel | High | High — shows fit without model cost | Difficult — requires multiple shots |
| Cropping/alignment | Full catalogues | Low | Medium — improves consistency | Yes, with templates |
| Shape/symmetry | Clothing flat lays | Medium-High | Medium — polished presentation | Difficult |
| Skin retouching | Model/on-body shots | High | Medium — professional appearance | Not recommended for beginners |
Flat Lay Photography Retouching
Flat lay photography — shooting products from directly above on a flat surface — has become a staple of fashion eCommerce and social media. It is versatile, cost-effective (no model needed), and works brilliantly for Instagram and lookbook content.
However, flat lays have their own retouching challenges.
Lay-Down vs Pin-Up Techniques
Professional retouchers use two approaches for flat lay garments:
- Lay-down retouching — Best for images with multiple products. The garment is photographed lying flat, and retouching focuses on removing wrinkles, dust, and stray hairs. Dodge and burn tools add contrast and make products pop.
- Pin-up retouching — Best for single-product hero shots. The garment is pinned to create shape and dimension, then retouched to add depth with shadow effects. This gives clothing a subtle "floating" quality that draws the eye.
Common Flat Lay Fixes
| Issue | Fix | Tool |
|---|---|---|
| Stray hairs | Clone over with surrounding texture | Clone Stamp (soft brush) |
| Smudges/fingerprints | Heal with matching texture | Healing Brush |
| Holes or tears in fabric | Clone and blend from adjacent area | Clone Stamp |
| Asymmetric garment | Push/pull pixels into alignment | Liquify (Forward Warp) |
| Floating appearance | Add natural drop shadow | Burn tool on Multiply layer |
Consistency Rules for Flat Lay Catalogues
Flat lay images must be consistent across your entire range. Before shooting, create a style guide covering:
- Background — Use the same surface or colour throughout
- Crop — Identical dimensions for every image
- Alignment — Products centred, occupying the same proportion of the frame
- Margins — Consistent padding around every product
- Styling — Sleeves, collars, and hems positioned identically across garments
On-Body and Mannequin Retouching
On-body photography — whether with a live model or a mannequin — gives customers the truest sense of how a product looks when worn. It is essential for fashion brands selling dresses, jackets, trousers, and anything where fit matters.
Retouching on-body images splits into two stages: the garment and the model.
Garment Retouching (On-Body)
Even on a model, the garment itself needs attention:
- Remove wrinkles and creases — Use the clone stamp or healing brush to smooth fabric where it bunches or folds unnaturally.
- Boost contrast and colour saturation — Make the garment pop against the model's skin and the background. A saturation increase of around +30 adds vibrancy without looking artificial.
- Sharpen details — Apply Unsharp Mask (150-200%, 1px radius) to bring out fabric texture, buttons, and stitching.
- Highlight textures — Use Shadows/Highlights adjustments to reveal details hidden in folds and dark areas.
- Remove dust and lint — Invert a duplicate layer to make particles stand out, then clone them away.
- Improve shape and symmetry — Use Liquify to straighten hemlines, even out shoulders, and refine the silhouette.
Model Retouching
When working with live models, additional retouching is needed — but the goal is always to enhance, not to create an unrealistic image:
- Skin retouching — Remove temporary blemishes, even out skin tone using dodge and burn. The aim is clean, natural-looking skin — not plastic.
- Stray hair removal — Tidy flyaway hairs that distract from the product.
- Posture refinement — Subtle Liquify adjustments to straighten lines and improve the model's stance.
- Body proportions — Minor adjustments only, and with care. Over-editing body shapes is both ethically questionable and commercially counterproductive, as customers lose trust when models look obviously manipulated.
- Finishing touches — Minor colour adjustments to lips, hair shine, and overall tone to ensure the model complements rather than competes with the product.
Ghost Mannequin Workflow
For brands using mannequins, the ghost mannequin technique is essential:
- Photograph the garment on the mannequin (front view)
- Photograph the inside of the garment separately (back of neckline, interior labels)
- In post-production, remove the mannequin and composite the interior shots to create a seamless hollow 3D effect
- Add shadows and refine edges for a natural appearance
This technique gives you the shape and dimension of a model shot at a fraction of the cost.
Elements of a Great Product Photo
Before retouching can work its magic, you need a solid photograph to start with. The best retoucher in the world cannot fix a fundamentally poor image. Keep these elements in mind:
- Lighting — Even, well-diffused light from multiple sources. Natural light is ideal, but studio lighting with softboxes works well. Avoid harsh shadows and hotspots.
- Background — Clean and uncluttered. White is the safe choice for marketplaces; lifestyle backgrounds work for brand websites and social media.
- Composition — The product should be the clear focal point. Follow the rule of thirds and leave appropriate negative space.
- Props — Use sparingly. Props should complement the product, not compete with it. A few well-chosen accessories add context; too many create clutter.
- Resolution — Shoot at the highest resolution your camera allows. You can always downsize; you cannot upscale without losing quality.
How Much Retouching Do You Actually Need?
Not every image needs the same level of work. The right amount depends on your product type, your sales channels, and your brand positioning.
| Scenario | Retouching Level | Typical Edits |
|---|---|---|
| Marketplace listing (Amazon, eBay) | Basic | White background, colour correction, dust removal, crop |
| Brand website — product page | Standard | All basic + wrinkle removal, shadow, sharpening, consistency |
| Brand website — hero/campaign | Advanced | All standard + colour grading, compositing, lifestyle backgrounds |
| Social media / lookbook | Advanced | All standard + creative cropping, mood grading, flat lay styling |
| Print catalogue / advertising | Advanced | Full retouching + CMYK conversion, high-res output, bleed setup |
The golden rule: retouch enough to present the product at its best, but never so much that the image looks fake. Over-edited photos erode trust. Customers who receive a product that looks nothing like the image will return it — and leave a negative review.
DIY vs Professional Retouching
If you are weighing up whether to retouch in-house or outsource, here is an honest comparison:
| Factor | DIY | Professional Service |
|---|---|---|
| Cost per image | Your time (+ software subscription) | Typically £0.50-£3.00 per image |
| Quality | Depends on your skill level | Consistent, high-quality output |
| Speed | Slow (especially at first) | 24-hour turnaround typical |
| Consistency | Hard to maintain across large catalogues | Built into the workflow |
| Scalability | Limited by your hours | Scales with your business |
| Learning curve | Steep for advanced techniques | None — handled for you |
Our recommendation: If you are uploading fewer than 20 images per month and have some Photoshop experience, basic retouching is feasible in-house. Beyond that, the time cost of doing it yourself almost always exceeds the financial cost of outsourcing — and the quality difference is significant.
Want to see what professional retouching looks like on your own images? Start your free trial — send us a batch and we will retouch them at no cost, so you can compare.
Why eCommerce Brands Choose Pixel By Hand
With over 10 years of experience and 380+ clients worldwide, Pixel By Hand is a specialist product photo retouching service built specifically for eCommerce.
- Expert team — Our retouchers work exclusively on product images. This is not a general design agency that does retouching on the side.
- Fast turnaround — Most orders are returned within 24 hours. Need it faster? We offer rush delivery.
- Unlimited revisions — We work until you are completely satisfied. No extra charge for revision rounds.
- Consistent output — We create and follow a style guide for your brand, ensuring every image matches across your catalogue.
- Flexible formats — We deliver files optimised for web, social media, print, or marketplace — whatever you need.
- Affordable pricing — Competitive per-image pricing with discounts for bulk and regular orders.
- Free trial — Send us your images and we will retouch a sample batch completely free. No commitment.
Send us your images for a free sample edit and see the difference professional retouching makes.
FAQ
What is product photo retouching?
Product photo retouching is the process of editing product images to correct imperfections, enhance colours, remove distractions, and ensure consistency across your catalogue. It includes techniques such as background removal, colour correction, dust and lint removal, wrinkle smoothing, shadow creation, and ghost mannequin compositing.
How much does product photo retouching cost?
Professional retouching typically costs between £0.50 and £3.00 per image, depending on the complexity of the edits required. Basic edits (background removal, colour correction) sit at the lower end; advanced work (ghost mannequin, compositing, model retouching) costs more. At Pixel By Hand, we offer competitive pricing with volume discounts.
How long does product photo retouching take?
At Pixel By Hand, we typically return retouched images within 24 hours. Turnaround depends on the volume and complexity of the order, but we offer rush delivery for time-sensitive projects.
Can product photo retouching reduce returns?
Yes. One of the biggest drivers of eCommerce returns is the product not matching the customer's expectations from the images. Accurate colour correction and realistic retouching mean customers receive what they expected, significantly reducing return rates.
What is ghost mannequin retouching?
Ghost mannequin (or invisible mannequin) retouching removes the mannequin from product photographs, leaving a hollow 3D garment shape. It is created by compositing multiple photographs — typically a front-on shot of the garment on the mannequin and a separate shot of the garment's interior. The result shows the product's shape and fit without the cost of a live model.
Should I retouch product photos myself or outsource?
For small volumes (under 20 images per month) with basic edits, DIY is feasible if you have Photoshop skills. For larger catalogues, advanced techniques like ghost mannequin, or when consistency across hundreds of images matters, outsourcing to a specialist service saves time and delivers better results. We recommend trying our free trial to compare the quality before deciding.
Pixel By Hand is a specialist product photo retouching service with over 10 years of experience and 380+ eCommerce clients worldwide. Start your free trial today.